Thursday, February 14, 2013

Ikea Rast Makeover

A while back I saw a pin on Pinterest for a Rast Hack. I fell in love and when the need for a bedside table in our guest room came up I jumped on it! Like always the box sat and sat but I finally got around to transforming a boring little dresser into a fabulous bedside table! Here is how it went:

Before:                                   After:


I took this from A Charming Nest as my inspiration:


The unfortunate thing was, it actually costs a lot to do what they did! It makes it a pretty pricey bedside table, especially for a guest room. So, I cut a lot of the extras out and did the bare minimum.


I started with filling the holes, I wanted a single knob and got some beautiful glass ones from Pottery Barn about a year ago for next to nothing thanks to some great email promo they had for $10 off any purchase!

Next up was attaching lattice to the drawer fronts, I opted to add this to just the 
drawers rather than the sides as the biggest cost savings.

Glued and nailed into place! There might have been an issue with attempting to put the brad nails into the wrong nail gun. The details are a little fuzzy though. ;-) This was followed with a couple coats of white paint, I didn't manage to take any photos of that part of the process, sorry!


The pine board for the top is ready for some stain, I got some small 
trim for the sides to finish it off nicely.

My first stain choice was too light so I had to run out and pick something different. 
I am glad I did, I would have been disappointed if I had just left it with the first.


 All painted and new holes drilled for the glass knobs!


This is what has been next to the bed since we put it in this room, that mess of wires 
and cables is our internet and satellite tv stuff. It is ridiculous...


And here is the after! Functional storage for office supplies and
much more beautiful than the mess that was there!


 Close up, it isn't a perfect match to the furniture (Zach's old nursery set) but it looks great. I am thrilled with how it turned out!

Thursday, January 24, 2013

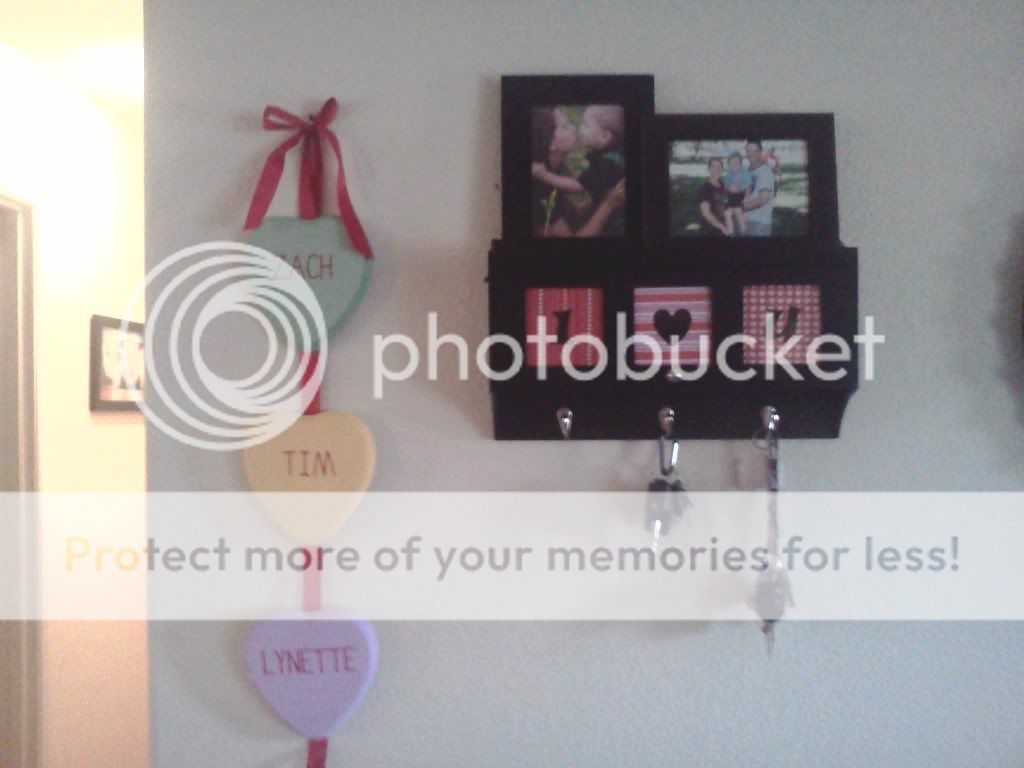
Valentine's Day

I love each holiday because it is time to start over with decorations and gives me a chance to craft! Here is what I have so far for Valentine's Day:


Tuesday, January 22, 2013

The super popular phrase "Repurposing"

Repurposing is a big word thrown all around Pinterest. I guess this post falls under it, I bought something to use in a way that was different than its original purpose and then went one step further and went in a different direction than my original intent.

I purchased two Ikea Spice Racks (Bekvam) at least a year ago, if not longer with the intent on using them to hold cutting boards. They didn't fit inside out cupboard like the example on Pinterest I had seen so they sat and they sat and they sat and they sat. Meanwhile, I had been trying to come up with a solution to our weird toilet problem in our guest/hall bath for a long time. It seems to us that they slipped up on some measurements when placing the plumbing in that room in the slab, the water to the sink is in an odd location and the toilet footprint for a 14 inch rough in. Perhaps they meant to do that but it baffles us as to why they would. Not realizing it was a 14 inch rough in, we bought a 12 inch since that is standard and found ourselves with quite a gap from the wall to the tank. Not willing to spend the extra few hundred dollars to get a toilet that would sit closer to the wall, we decided to live with it. Unfortunately, I hate looking at that gap. So...I pulled out the Ikea rack and decided it would be the perfect solution! That was 6 months ago...sigh.

A blog I love and read weekly is Young House Love and they have a segment from time to time called, "Dude, get on that." So feeling inspired yesterday, Zach and I 'got on that.' Here are the before and afters for the bathroom:

 My temporary solution...


 A huge gap!


 Installed!


It looks so much better!


So, how about the second one I had purchased? It has been put to good use in Zach's room, I let him pick the colors (with some Mom persuasion) and he painted a lot of it himself. We sit at the foot of his bed for bedtime stories and the books seem to just pile up (story of my life, piles of papers and such everywhere). Here are his before and afters:

 The pile on his toy chest...


 His red and blue shelf in place! Now they are there for his resting time in the
afternoons as well since he is our crazy little 4 year old reader!


 Stocked and ready for tonight. :-)


The box all cleaned off, it is amazing how it can make me feel more calm.

Saturday, February 11, 2012

Guest Bath Overhaul

After a few months of working on and off and on and off we have finally completed our Guest Bath renovation! I really expected to be done before Christmas but many unforseens made that impossible and a MAJOR oops made it even worse. (we'll get to that in a minute) It was worth it all in the end as we now have a beautiful completely functional bath.

Why we started: When we bought the house we knew we wanted to update the baths and kitchen but didn't have a plan for when. I was giving Zach his bath one night and decided I was done fighting the horrible handle that controlled the temperature of the water. It was almost impossible to adjust so it was a constant battle with too hot or too cold for him. Seeing that the builder did not provide any access to the plumbing so it was either bust a hole in the family room wall or start the renovation. I won't go into major details, basically we gutted it all(not actually the original plan) and everything is new. I wanted to keep the vanity and paint it but it was too big for the stock countertops so it was either a custom counter or new vanity/counter for the same price so we went with new.

Before:

The 'hotel' faucet. You spin the clear knob to turn it on and the turn the tab behind it to change the temp. The tab part stopped working and required Tim's muscles to move it! 


After:


 And now for the disaster story. See the beautiful white grout in the photo above? It is 'Grout: Round 2.' The first grout turned out so horrible that we scraped every single inch of it out and re-did the whole thing. Why? Well, I had gone to Home Depot to pick up the grout, knowing full well what to buy, but when I looked at the box I decided to explore other options as there was about 4 times the amount of grout I needed in the box. Fail. A tub of pre-mixed grout called out to me, it said it was for joints down to 1/16th of an inch, just what I needed! It didn't say anywhere that it was sanded, BUT it also didn't say that it was unsanded. It also said it was Bright White. I was sold. But once it went up it became clear that it was not only sanded, it was sanded with red and brown sand making it speckled, not white. I, for some reason, hoped it would dry looking better than it did but that was a ridiculous thing to expect. I hated it and it didn't take long to decide to scrape it out. It took 5 days, several of which I was up until 2am working since a certain 3 year old made it hard to work on when he was awake. My hands ached for days and many tears were shed. But, we knew that we had to, as Mike Holmes says, "make it right." There was no way we could have lived with the terrible decision to use that grout, and I am glad we replaced it with the original grout I had gone to purchase.

We learned a lot of new skills(thanks for all the help Dad!) with this project and have almost recovered enough to tackle our master bath now! =)

After looking at this over and over I felt like it needs once last before/after side by side so here it is:


Tuesday, January 18, 2011

Winter Fun!

We decided to finally take a family vacation and chose Big Bear Lake as our destination! We spent 4 nights at the Bay Meadows Resort in a 2 bedroom cabin, it was wonderful. Zach really enjoyed the snow, he loved walking around in it and playing but did not like having to touch it with his bare hands. =) We took him snow-tubing, out for a hike, to the very small zoo, and bowling for the first time! I do believe the highlight of his week was when 8 helicopters flew over our head during our hike. Here are some of the many photos I took on our trip.

Click here for the photos!

Tuesday, November 30, 2010

Getting in the Holiday Spirit!

I love the holidays, all the lights, trees, and most importantly, the sweets! Zach is my little kitchen elf and we have already had so much fun! Today we made Peppermint Bark and yesterday we made sugar cookies. I think I will challenge myself to a craft or treat each day from now until Christmas. It is such a fun way to spend time with Zach.

Happy December everyone!


 Notice which one Mama decorated?

 This cookie got LOTS of sprinkles. =)


 He had a blast getting to hammer the candy canes!


Yum-O!